Martingale panel MT5
- Utilitys
- Mohammadbagher Ramezan Akbari
- Version: 1.0
- Aktivierungen: 10
In this article, we would like to introduce the trade panel product with the Martingale panel.
This panel is made in such a way that it can meet the needs of traders to a great extent.
This trade panel actually consists of two trade panels at the same time, with the first one you can take positions with certain profit and loss limits, and with the second one, you can have positions with profit limits but without loss limits.
When positions lose, a new position will be added based on the settings we set in the input, and the profit limit will also be moved.
In the following, we will explain each of these sections in detail.
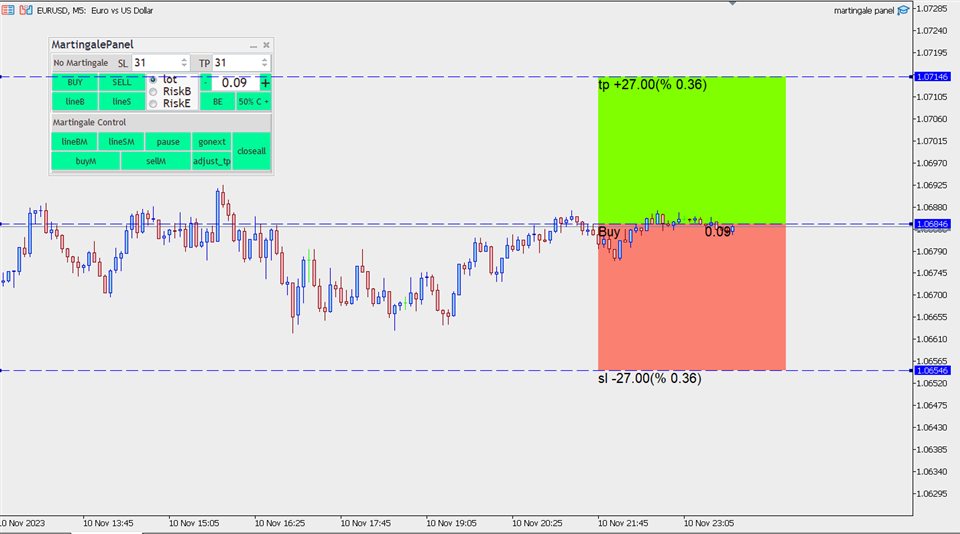
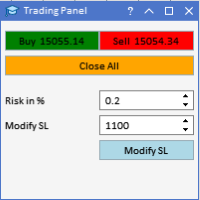
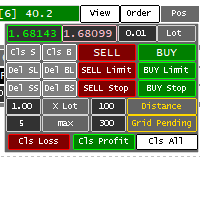
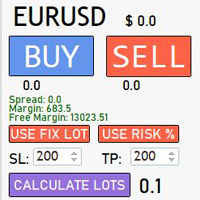
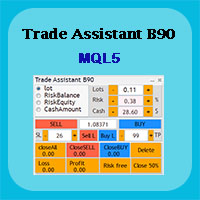
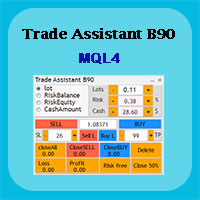
In the figure below, you can see the appearance of this assistant, which we will explain later on working with this assistant.
This trade panel actually consists of two separate parts:
1- The first part: the single trades that we want to have profit and loss limits. (No Martingale)
2- Trades to which martingale is also added. (Martingale control)
Components of trade panel 1:
In the upper part of this trade panel, you can enter profit and loss limits in pips.
Of course, there is another method that you can determine using the lines on the chart. These lines will appear on the chart by pressing the following buttons.
Line B: If you press this button before entering the position, lines will appear on the chart where you can specify the position of the position and the limit of profit and loss on the chart, as well as the amount and percentage of profit and loss that you may have.
By default, this button is designed for buy positions, but by moving the loss limit, you can also take a sell position, for example, if the loss limit is greater than the entry point, the position is ready to sell.
Line S: This button works like the previous button, but at the beginning it shows the selling position lines and by moving the lines, you can take all kinds of positions.
SELL: By pressing this button, the selling position will be opened and the limit of profit and loss is based on what you have entered in the panel.
But if you have used the lines button before entering, the limit of profit and loss is based on the lines you have specified on the chart.
BUY: By pressing this button, the purchase position will be opened and the profit and loss limit is based on what you have entered in the panel. But if you used the lines button before entering, the limit of profit and loss is based on the lines that you specified on the chart.
To get pending positions, just use any line and when you specify the position of the lines on the chart, the text of the sell and buy button will be converted to pending positions based on the position you specified on the chart and will be opened by clicking on the position button.
We have considered 3 methods of selecting position size for the panel, which you can trade based on lot or percentage of balance or equity.
Whichever of these methods you choose, you can specify the lot amount or risk percentage in the opposite box.
BE: It stands for Break Even and this button will work when your positions are in profit. When you press this button, the loss limit will return to the entry point (of course, close to the entry point of a few pips in profit) and you will be risk-free. Then, if you press this button again, if the position is in profit, the loss limit will be moved again and the profit will increase.
50%: When you click on this button, if the positions of the currency pair on which the expert has been implemented are in profit, 50% of the volume of those positions will be closed and you will save profit.
The components of the second trade panel (Martingale control): The management of the positions you get with this part of the panel is separate from the positions you get with the upper panel. In fact, we have separated the management of these types of positions in the expert entry with a magic number.
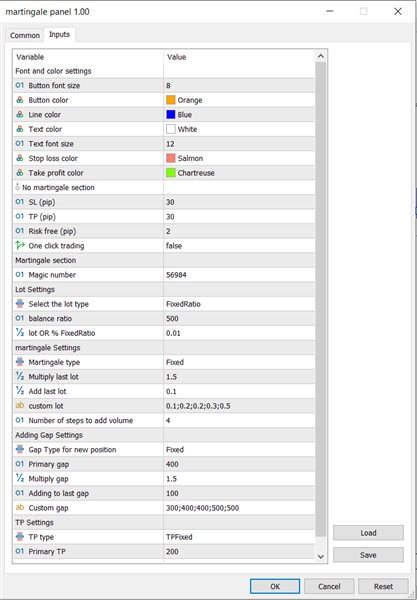
There are settings in the expert input that we must set for this section first. Because when you enter a position, position management is done automatically. Of course, you can also manage with the panel. In the following, we explain each of the entries.
Magic Number: Choose a different magic number for each expert you run so that there is no interference in position management.
Lot Settings: In this section, we will set the initial volume of the position, which generally you can use a fixed volume or a proportion of the capital.
Select the lot type: In this section, we choose whether the lot type is based on Fixed Lot or Fixed Ratio. which will be affected based on this selection of lot OR % Fixed Ratio input. And the amount of the lot will be determined, if you choose Fixed Lot, the initial lot will be the same entry. But if you have selected Fixed Ratio, it will be a ratio of this input. This ratio is determined based on the input balance - increase if Type lot = Fixed Ratio.
For example, if this input is 500 dollars and the next input is 0.01, it means that 0.01 should be selected for every 500 dollars. That is, if your capital is 2000 dollars, it will choose the initial volume of 0.04 (2000 divided by 500).
martingale Settings:
In this section, we make settings related to martingale. In fact, this section tells us the volume of the positions to be added.
Martingale type: In this entry, you can specify the volume for positions in 5 ways.
Fixed Martin: The volume of new positions is also determined by the same initial volume as the first position taken.
Multiply Martin: If you choose this method, the size of the last position will be multiplied by a factor that we set in the Multiply input. For example, if the initial volume is 1 lot, the volume of the second position is 2 and the volume of the profit position is 4. It will continue in the same way.
Custom Martin: With this entry, you can customize the size of each position. Using Inp custom Martingale Lot input, after setting the volume for example 0.01, just use the symbol ( ; ) to separate and set the volume of the next position.
Note that if the number of positions is greater than the number you set, the last number you entered will be set as the next volume. For example, in the example above, the volume of 6 and the last number, i.e. 0.5, will be determined.
Add Martin: In this method to determine the volume, any value that adds the volume of the last position to the value we selected in the Inp Add Lot entry and determines the volume of the new position. For example, if the initial volume was 0.1 and the volume in Inp Add Lot input was 0.1, the volume of the second position would be 0.2, the third position would be 0.3, the fourth position would be 0.4, and so on.
Limit Martin: This type of volume determination is similar to Multiply Martin, and to determine the new volume, the volume of the last position is multiplied by the Multiply of this entry. With the difference that this time we limited the addition of the volume with the input Inp limit-martin. For example, if we put the number 4 in this entry. 4 times will not add more volume and will set new positions with the volume of step 4. For example 0/1 – 0/2 - 0/4 – 0/8 – 1/6 – 1/6 – 1/6 - ….
Adding Gap Settings: In this section, we will discuss how far the positions should be added. For this, we will use 4 methods.
Gap Fixed: In this method, the distances are fixed and are determined based on the Inp Gap input. If this entry is 400, after 400 pips, a new position will be taken from the entry point of the last position.
400 – 600 – 900 – 1350 – 2025 ,…
Gap Custom: In this method, we enter the distance of each position in a custom way in the Inp Gap custom entry. For example
300;400;400;500
Note that with the sign ; Separate each value.
Gap Add: Based on this input, a value based on the Inp Gap Increase input will be added to the last gap. For example, if the value of Inp Gap is 400 and the value of Inp Gap Increase is 100, the distance of each position will be as follows.
400 – 500 -600 – 700 -…
TP Setting: In this section, we discuss profit limit settings. If we have several positions, the expert will show us the total value of zero. That is, if the price reaches this value, the total profit and loss of all positions will be zero. Then, the profit limit will be determined from this amount in 3 ways.
TP Fixed: TP is calculated from the point where the profit and loss of positions becomes zero, and if you choose 20 pips for TP, it will be calculated from this point, not from the entry point of the last position.
TP Increase: In this method, the input value of InpTpIncrese_Decrease will be added to the previous TP value at each step. In fact, if InpTpPoints is 200 and InpTpIncrese_Decrease is 10. The distance of TP value from the place where the profit and loss of the positions becomes zero will be as follows.
200- 210 – 220 – 230 - …
TP Decrease: This method will decrease the input value of InpTpIncrese_Decrease from the previous TP in each step. In fact, if InpTpPoints is 200 and InpTpIncrese_Decrease is 10. The value of TP, the distance from the point where the profit and loss of the positions becomes zero, will be as follows.
200 – 190 -180 – 170 - …
With the increase in volume, the risk of transactions increases, and by reducing the amount of TP at each stage, we try to close the positions earlier and make a profit.
We will explain each of the buttons related to the martingale panel.
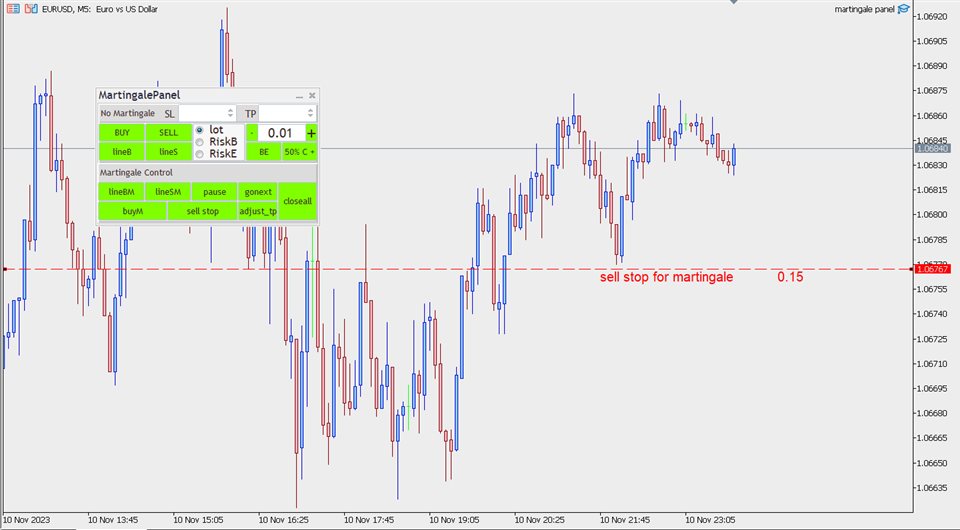
Line BM: This button is designed so that you can take buy limit and buy stop positions, and if these positions are opened later, the process we set in the expert entries will be executed, and new positions will be opened in case of losses.
Line SM: This button is designed so that you can take sell limit and sell stop positions, and if these positions are opened later, the process that we set in the expert entries will be executed, and new positions will be opened in case of a loss.
Buy M: By clicking on this button, the purchase position will be opened with the profit limit that you set in the expert input. If the position moves in the opposite direction, new positions will be taken based on the expert settings.
Sell M: By clicking on this button, the sell position will be opened with the profit limit you set in the expert input. If the position moves in the opposite direction, new positions will be taken based on the expert settings.
Note: Because we use the martingale method, this button only works when we don't have a position with this method.
Pause: This button is designed so that you can disconnect or connect the automatic trading process. If you click on this button, the text will change to play and no new position will be opened automatically. And if you click on it again, the text will return to the previous state and will open again if there are new position conditions.
Gonext: Maybe you want to add a new position early. By clicking on this button, a new position will be set with the volume and TP you set in the input.
Note that all TPs will be the same based on the new position you have opened.
Adjust _ tp: Sometimes, when the number of positions is large, the TP of some positions may not be the same due to external reasons, such as server disconnection, etc. By clicking on this button, the profit limit of all positions will be the same if they are not the same.
Close All: By clicking on this button, all the positions you have taken with the martingale panel will be closed. This button is independent from the top panel and if you have opened a position with the top panel, it has nothing to do with it.
